Printable
Morse code
Three pages to read together: where Morse code came from, the chart of every letter, and messages to decode.
Free to print and share. Black and white prints fine unless the sheet says color.
What's on it
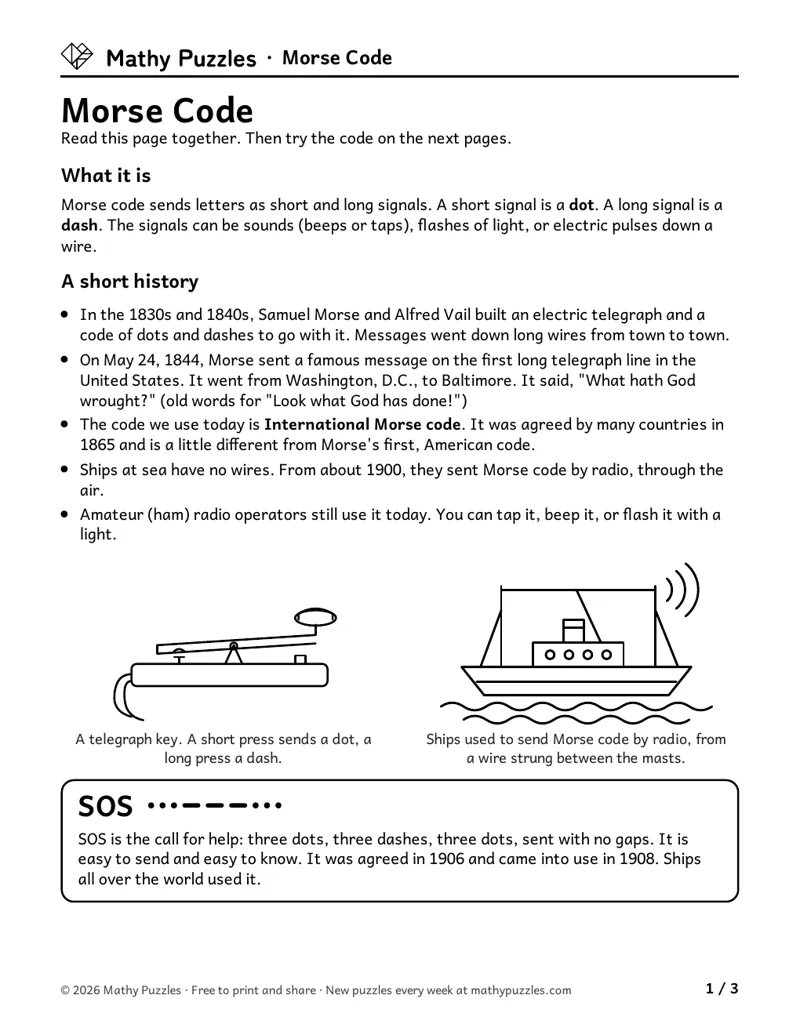
- Page 1: what Morse code is and a short history, from Samuel Morse's 1844 message from Washington to Baltimore to ships at sea, SOS, and ham radio operators today.
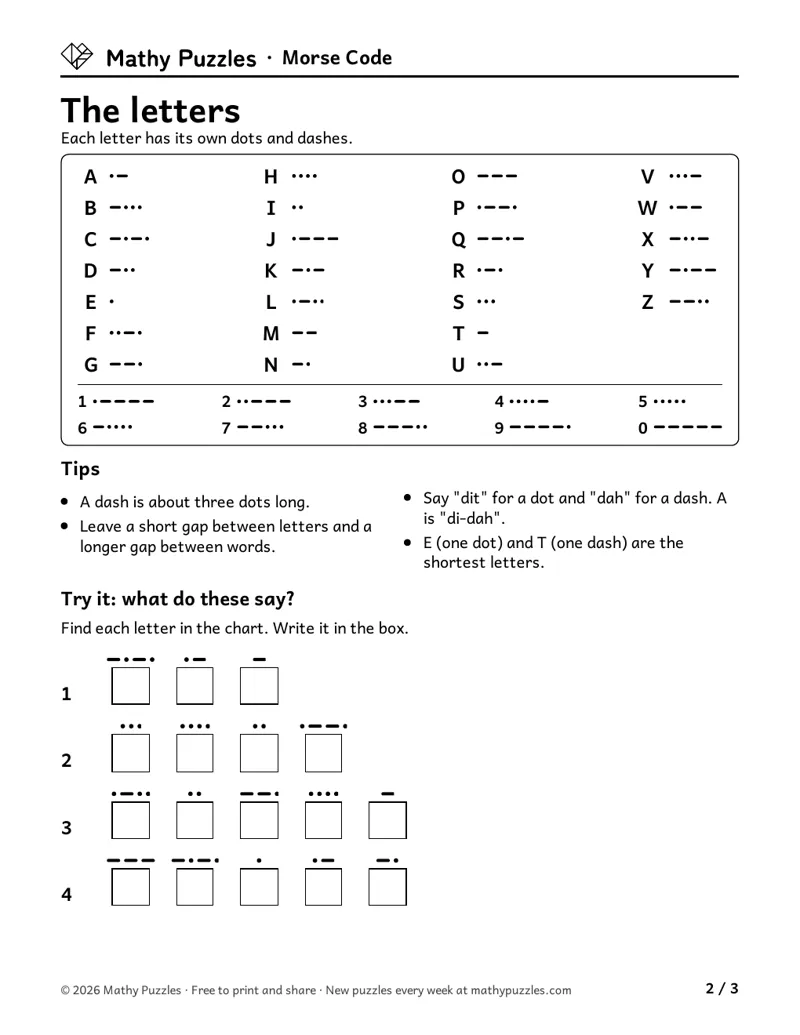
- Page 2: the full chart of letters and numbers, a few tips, and four words to decode.
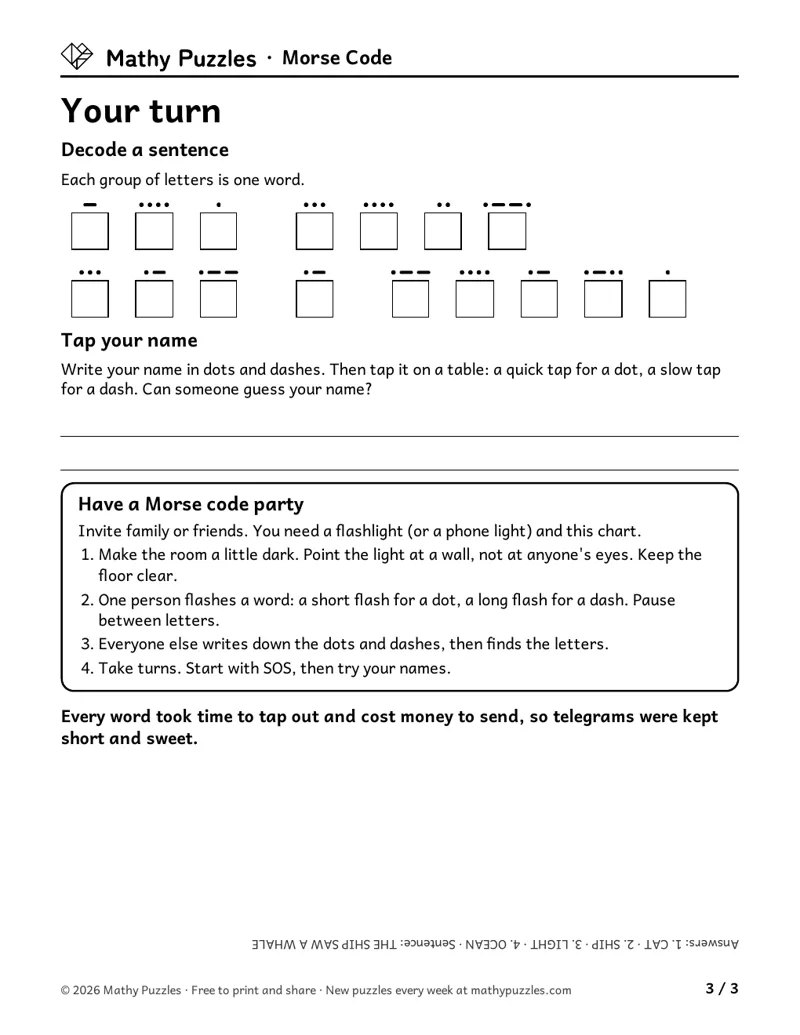
- Page 3: a sentence to decode, your name in Morse, and a Morse code party with a flashlight. The answers are at the bottom, upside down.
How to use it
- Read page 1 aloud together before the chart.
- Say "dit" for a dot and "dah" for a dash. It helps the patterns stick.
- Keep page 2 next to the Morse Code puzzles as a key.